")
Ground up changes begin where feet land first so pick the floor wisely. A home shifts around what lies beneath, especially when ovens, fridges, and busy legs pass by every day. Tough spots like kitchens need strength. Here, vinyl proves tough enough to last yet remains flexible in look and feel. Forget fragile finishes. Instead, imagine surfaces mimicking real stone or grain rich timber, standing up to wetness and scuffs without demanding constant care. Walk through planning like you are flipping pages because each stage matters, from early sketches to watching experts lay down the last seam.
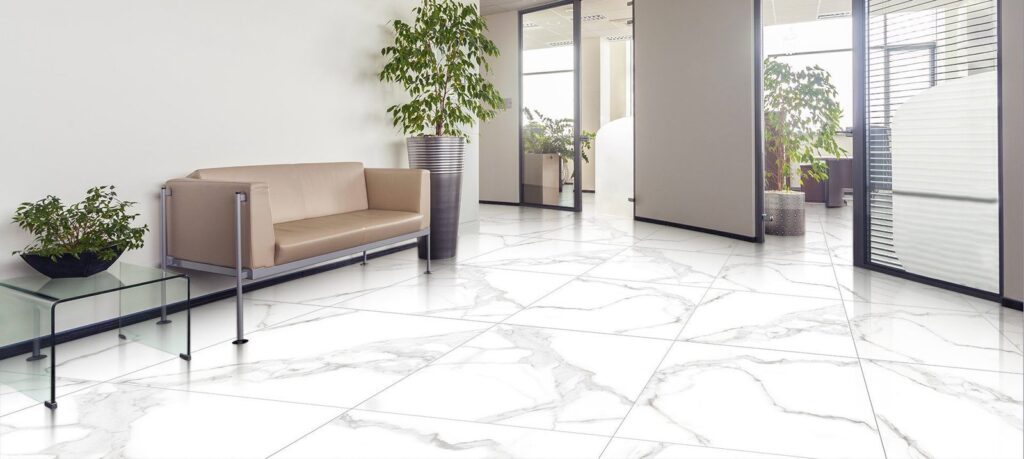
1. Types and Designs of Vinyl Flooring
Picking the correct setup kicks off any smart kitchen plan. When updating today’s spaces, many go straight for Luxury Vinyl Plank or Luxury Vinyl Tile. Long shapes imitate real wooden floors, showing off lines and bumps you can actually feel when walking barefoot. On the flip side, square pieces copy stone like materials such as porcelain, limestone, or rock finishes. These are ideal for blending into either sleek or classic room styles.
Since vinyl comes in layers, you get many ways to shape how it looks. Thanks to sharp printing methods, some styles mimic real wood or stone so closely they fool the eye instantly. Pick shades that match your cabinets and counters if you want everything to flow together smoothly. Open up tight spaces by going with pale flooring to give an effortless lift. Richer hues bring depth, making rooms feel settled and refined. A clear shield sits above the pattern to fend off scuffs and sun damage, keeping appearances fresh through long stretches of daily life.
2. Prepare Site and Subfloor
Underfoot truth shapes how well a vinyl floor turns out. Bumps below show through because the material bends easily. Old flooring either comes up or gets fixed so the surface sits even. Pros take their time hunting damp spots in kitchen zones where slow drips under appliances eat at wood layers year after year.
Flatness matters most so each vinyl piece connects firmly without movement. Often you pour a liquid mix to raise dips or grind ridges on plywood where they bulge too much. Sometimes a slim layer goes underneath just to soften impact and lower noise. Handling details early keeps planks from moving or making sounds every time someone walks by, leaving floors steady and silent long term.
3. The Installation Process and Technical Precision
Laying down vinyl takes time plus close attention to how things line up. From one edge, workers mark a clean starting line before placing any planks. Today’s high end sheets often snap into place with no glue involved at all. Positioning matters right from the first row. Movement happens underfoot when heat or moisture shifts occur over time. A small space left between the floor and wall gives it room to breathe. Each section locks tight only after its neighbor sits exactly where it should. Precision shows most once the last piece clicks in place.
Getting vinyl to line up just right around counters, doorways, and big appliances means using sharp tools so everything fits snug. Placed planks or tiles stay put while trim pieces go on next, hiding space left for movement and giving clean edges. Near water spots like sinks or dishwashers, a thin layer of sealant gets added along seams to block moisture below. Small steps like these make sure floors hold up well, look neat, and handle daily kitchen life.
4. Costs for Materials and Labor
Picking out a vinyl floor means weighing how good the material looks against how hard it is to put in. Three to seven bucks per square foot covers most high end vinyl buys. Thicker surfaces and built in cushion layers show up in pricier versions. Those extras sometimes cut what you would spend on extra lining underneath. Grabbing roughly one tenth more than your room size helps cover pieces lost when cutting things to fit.
Pricing for labor usually lands between two and five bucks a square foot, shaped by how your current flooring is holding up. When crews have to pull out worn tiles or fix an uneven base layer, expenses creep higher. Shifting big items like fridges and stoves is one more thing that nudges the total upward. Vinyl may cost less than real wood or stone yet hiring experts means fewer mistakes, tighter cuts, and results that quietly mimic luxury finishes.

5. Conclusion
A fresh vinyl floor can change how your kitchen feels, bringing new energy without sacrificing toughness. Realistic textures meet strong function, offering surfaces that resist spills yet mimic natural materials. When installed right after cleaning and leveling the base, results look far more expensive than they are. Instead of tearing everything out, consider this simpler path to update the space where meals happen. Today’s versions hold color, shape, and finish even under heavy use. What matters most is picking a product built to last and not just one priced low. Floors take stress every day. This kind handles it quietly, staying flat and sealed at the edges.
A fresh floor begins with a conversation. Reach out now to arrange a clear step by step review of your needs. Guidance comes straight from experience so there is no guesswork when matching style to room size or light. Smooth results start beneath the surface so prep work gets full attention every time. Each plank fits like it was made for that spot alone. Little details at the edges matter just as much. The trim is shaped to match what is already there. Even the fridge shifts without stress because moving appliances safely is part of the process. Get in touch today because fresh floors change how your kitchen feels. Crafted right means built to last and made to match your vision. Skilled hands handle the work while you enjoy the result.